

Table of Contents
- Why Graphic Tee Prints Crack: The Real Causes
- How to Wash Graphic Tees to Keep Colors and Prints Intact
- Can You Put Graphic Tees in the Dryer? What You Need to Know
- How to Iron Graphic Tees Without Damaging the Print
- Repairing Cracked Prints: What You Can Salvage
- Fabric Softeners, Bleach, and Other Products to Avoid
- Storage and Folding: Protecting Prints When They're Not Worn
- Conclusion
- Frequently Asked Questions
Last Updated: October 2, 2026
Why Graphic Tee Prints Crack: The Real Causes
Learning how to prevent graphic tee prints from cracking starts with one fact: ink does not fail on its own. It fails because heat, friction, and harsh chemicals break it down over time. At Unique Designs, we have printed apparel since 1985, and the same three culprits show up in almost every cracked shirt we see.
Heat, Friction, and Detergent: The Three Enemies of Ink
Think of print ink like a rubber band. A fresh rubber band stretches and snaps back. Leave it on a hot dashboard for a month and it goes stiff and brittle. Print ink behaves the same way.
Here is what each enemy does:
- Heat: High heat from a dryer bakes the ink and speeds up thermal stress. The ink hardens and stops moving with the fabric.
- Friction: Tumbling in a dryer or rubbing against other clothes wears down the ink surface. This is what causes peeling at the edges.
- Detergent: Harsh chemicals and bleach strip the ink's binders. Fabric softener coats the print and weakens the bond.
How to Wash Graphic Tees to Keep Colors and Prints Intact
Washing is where most prints live or die. A gentle routine adds years to a graphic tee. A careless one kills the design in a few cycles.
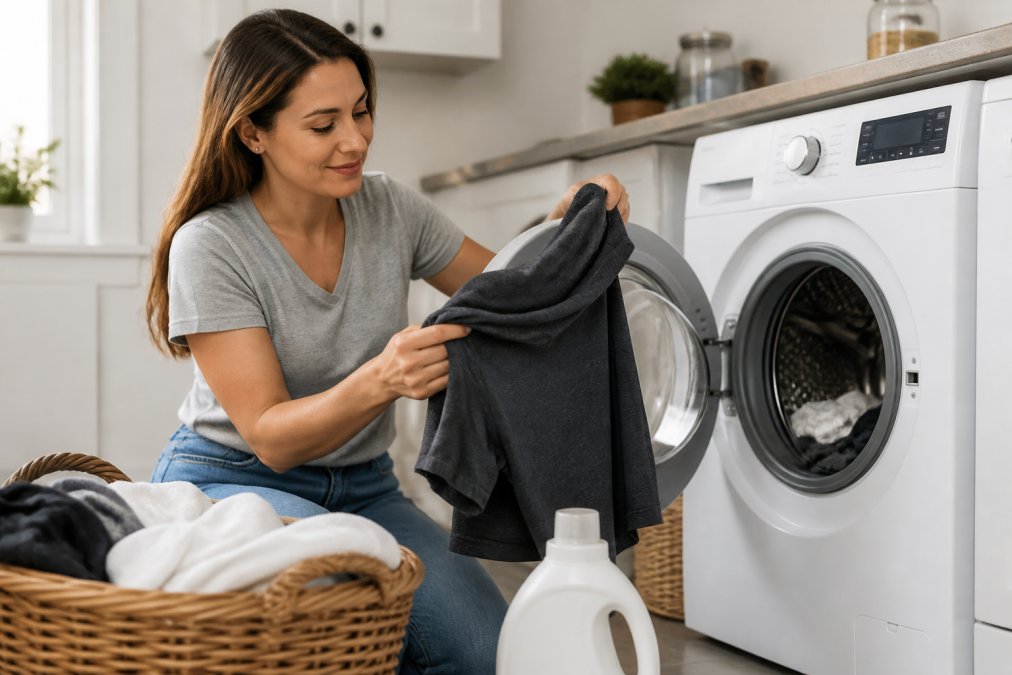
- Turn the shirt inside out. This puts the print against itself, not against the drum or other clothes.
- Use cold water only. Cold water protects both the ink and the fabric dyes, so colors stay true.
- Choose the gentle cycle. Low agitation means less friction on the print.
- Use a small amount of mild detergent. Skip bleach and fabric softener completely.
- Wash similar fabrics together. Heavy items like jeans and towels scrub prints on lighter tees.
- Skip the overload. A packed drum means more rubbing and more wear.
Inside Out, Cold Water, Gentle Cycle: The Non-Negotiables
The cold water cycle is not a suggestion. Heat is the number one cause of ink damage, and warm or hot water starts that process in the wash itself.
Can You Put Graphic Tees in the Dryer? What You Need to Know
You can put graphic tees in the dryer, but only on low heat, and only for a short time. The safer choice is to air dry or line dry them. The reason comes down to how print ink is built.
If you must use the dryer:
- Set it to the lowest heat setting, or use the air-fluff option with no heat at all.
- Pull the shirt out while it is still slightly damp. The residual moisture finishes evaporating on a hanger, and the shirt spends less total time in heat.
- Never leave a print-heavy tee in a hot dryer for a full cycle. A 60-minute hot cycle is roughly equivalent to months of normal wear in terms of plasticizer loss.
- Clean the lint trap before every load. A clogged trap raises internal dryer temperature and lengthens cycle time, both of which hurt prints.
Air Drying Without the Stiffness Problem
A common complaint about air drying is that shirts come out stiff or wrinkled. That is usually a technique problem, not a limitation of air drying.
- Shake the shirt out hard before hanging. This breaks surface tension between fibers so they dry without locking into creases.
- Hang on a plastic or padded hanger, not wire. Wire hangers leave shoulder dents that press into the print area.
- Dry flat for heavyweight tees. A wet heavyweight cotton tee can stretch out of shape on a hanger. Lay it flat on a towel or mesh drying rack.
- Use a fan for airflow. Moving air dries a shirt in a few hours without any heat. A box fan pointed at a drying rack works as well as a low-heat dryer cycle for most tees.
How to Iron Graphic Tees Without Damaging the Print
Never iron directly on the print. Heat from an iron will melt or scorch the ink and leave a shiny, cracked patch that cannot be fixed.
If a shirt needs pressing, follow these rules:
- Turn the shirt inside out first.
- Iron the back of the fabric, not the printed side.
- Use low heat with no steam.
- If you must iron the front, place a thin cotton cloth or parchment paper over the print and keep the iron moving.
Repairing Cracked Prints: What You Can Salvage
A cracked print cannot be fully restored, but small cracks can be slowed down or hidden. The key is to stop the damage from spreading.
Here is what you can try:
- Stop the heat immediately. Switch to cold washes and air drying. This keeps the remaining ink from cracking further.
- Patch small cracks with fabric paint. A matching color of soft fabric paint can fill thin cracks. Use a light touch and let it cure fully.
- Cover the design with a patch or applique. For a favorite tee, a small embroidered patch over the cracked area gives it a second life.
- Turn it into a sleep shirt or workout tee. If the print is too far gone for daily wear, it still works for the gym or bed.
Fabric Softeners, Bleach, and Other Products to Avoid
Fabric softener is the most common mistake people make with graphic tees. It feels like it is helping, but it is quietly ruining the print. Most guides mention this in passing. Here is what is actually happening.
What to Use Instead
You do not have to choose between soft shirts and intact prints. These alternatives work without leaving residue on the ink:
- Wool dryer balls. They tumble between clothes to soften fabric mechanically, with no coating and no heat added beyond what the dryer already produces.
- White vinegar in the rinse cycle. About half a cup in the fabric softener dispenser neutralizes detergent residue and softens fabric naturally. It rinses clean and leaves no film.
- Baking soda in the wash. Half a cup added to the drum softens water and helps lift detergent residue that can stiffen fabric.
- Mild, free-and-clear detergent. Detergents labeled 'free and clear' skip the dyes, perfumes, and optical brighteners that can leave residue on prints.
Other Products to Keep Away
- Chlorine bleach and color-safe bleach. Color-safe bleach uses hydrogen peroxide or sodium percarbonate, which is gentler than chlorine but still oxidizes ink pigments over time.
- Harsh stain removers with strong solvents. Solvent-based spot treatments can dissolve the ink film itself, not just the stain.
- Hot water and high-heat dryer settings. Heat is the number one cause of ink degradation, and it compounds every other problem on this list.
- Detergents with optical brighteners. These leave a fluorescent residue that dulls print colors and builds up on the ink surface.
For stains, treat them right away with a mild detergent and cold water. Dab, do not scrub. Scrubbing pushes the stain deeper and rubs the print. For grease stains, a drop of clear dish soap on the stain, not the print, works well. Rinse thoroughly before washing.
Storage and Folding: Protecting Prints When They're Not Worn
How you store a graphic tee matters more than most people think. Bad folding and cramped drawers create creases and pressure points that crack ink over time.
Store tees in a few simple ways:
- Fold along the sides of the print, not across the middle of the design.
- Keep prints facing inward so they do not rub against other clothes.
- Hang heavyweight tees on wide hangers to avoid shoulder creases.
- Keep the drawer loose. A stuffed drawer presses prints against each other for months.
Conclusion
A cracked print is frustrating, especially on a shirt you love. The good news is that the fix is simple: cold water, gentle cycles, low heat, and no harsh chemicals. Those four habits protect the ink and keep colors bright for years.
Frequently Asked Questions
What causes graphic tees to crack?
Cracking happens when the printed ink layer loses flexibility and separates from the fabric. The main culprits are high heat from dryers and irons, friction from tumbling against other garments, harsh detergents that break down the ink bond, and repeated stretching of the fabric underneath. Screen-printed and direct-to-garment designs are both vulnerable, though plastisol inks tend to crack faster when exposed to heat above 300°F. Washing inside out in cold water and air drying are the two most effective habits for preventing graphic tee prints from cracking.
Should I wash graphic tees inside out?
Yes. Turning your graphic tee inside out before washing is one of the simplest ways to protect the print. It reduces direct friction between the ink and other garments in the wash cycle, which is a leading cause of peeling and fading. Pair this with a cold water cycle and a gentle setting, and you significantly extend the life of the design. Avoid overloading the machine, since excess agitation increases wear on both the fabric and the print.
Can you put graphic tees in the dryer?
You can, but it shortens the print's lifespan. High heat causes the ink to become brittle, and the tumbling action creates friction that leads to cracking. If you must use a dryer, choose the lowest heat setting and remove the shirt while it is still slightly damp. Better yet, hang it on a line or lay it flat to air dry. This single change can add months or even years to the life of your graphic tee.
How do I iron a graphic tee without ruining the print?
Never place a hot iron directly on the printed area. Turn the shirt inside out and iron the back of the fabric, or place a thin cotton cloth or parchment paper over the print and iron on the lowest heat setting with no steam. Keep the iron moving and avoid pressing down hard. If the design has already started to peel, do not iron over it, because the heat will make the damage worse. For stubborn wrinkles, hang the shirt in a steamy bathroom instead.
